The anticipation on this one has been rising for some time. It’s finally here! After some long delays StarLabs have shipped their Starlite MK V Linux tablet. I placed an order back in August 2023 and have now taken delivery a few weeks back.
The Starlite MK V is the successor to the MK IV which was a netbook. The MK V shifts to a tablet form factor with support for optional keyboard with trackpad and pen support. Whilst the MK IV was a great PC for travel and surfing you could argue the netbook form factor is a bit dated compared to ta tablet. There’s been considerable interest in the StarLite MK V from the Linux hardware community so let’s explore further.
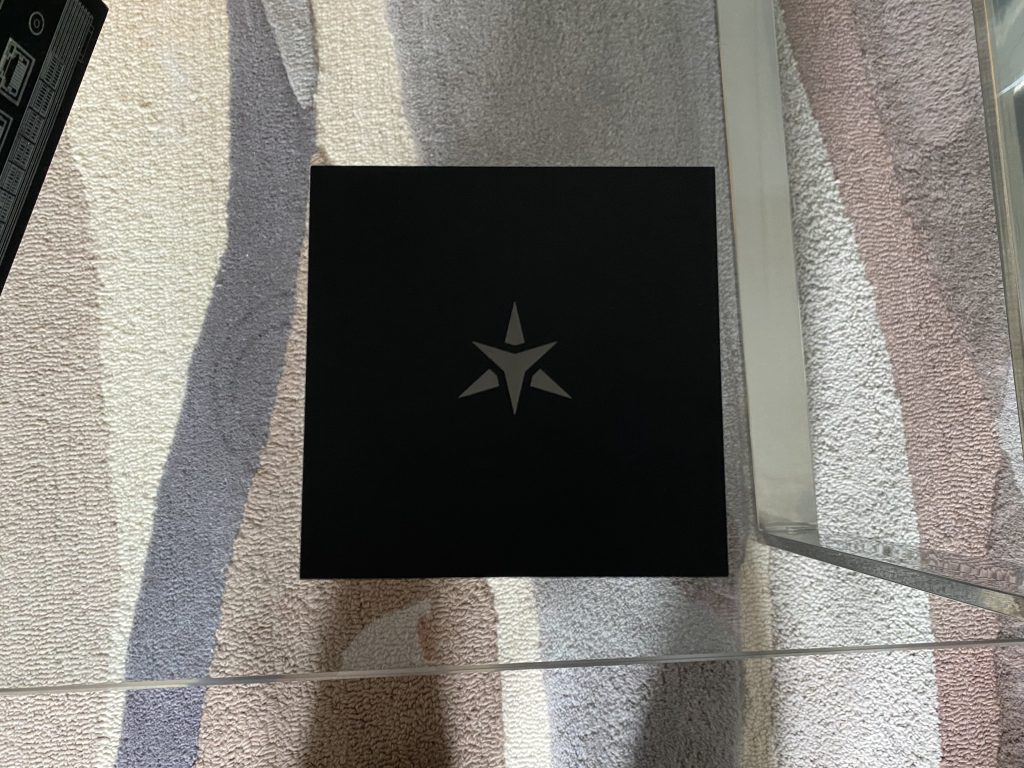
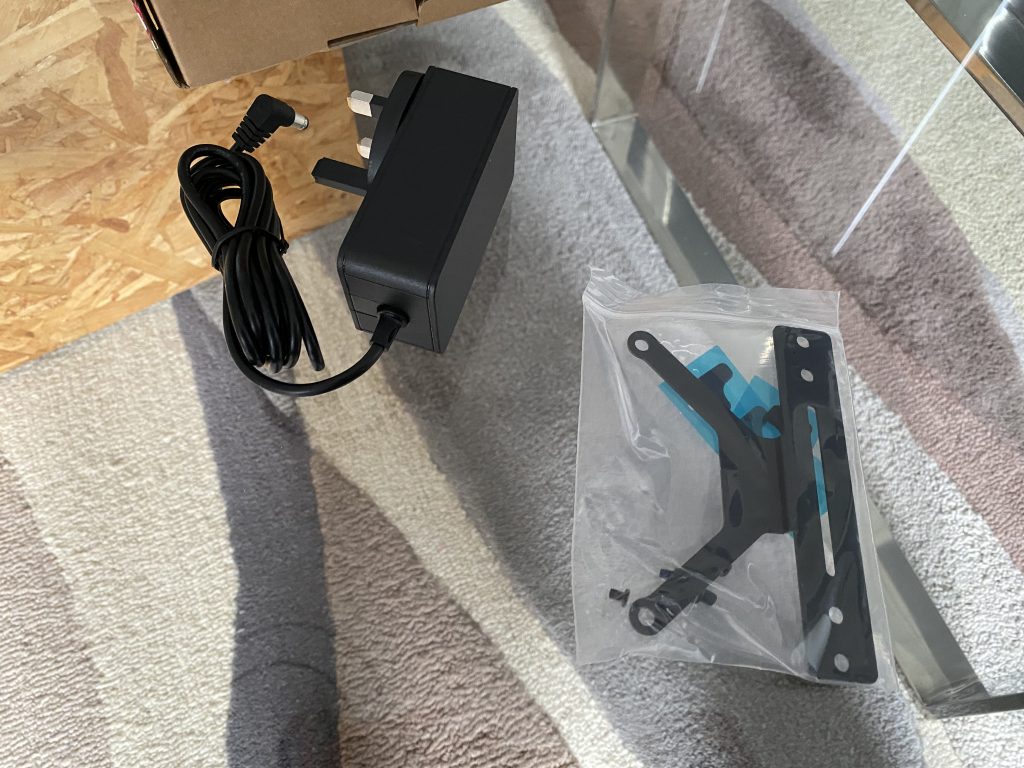
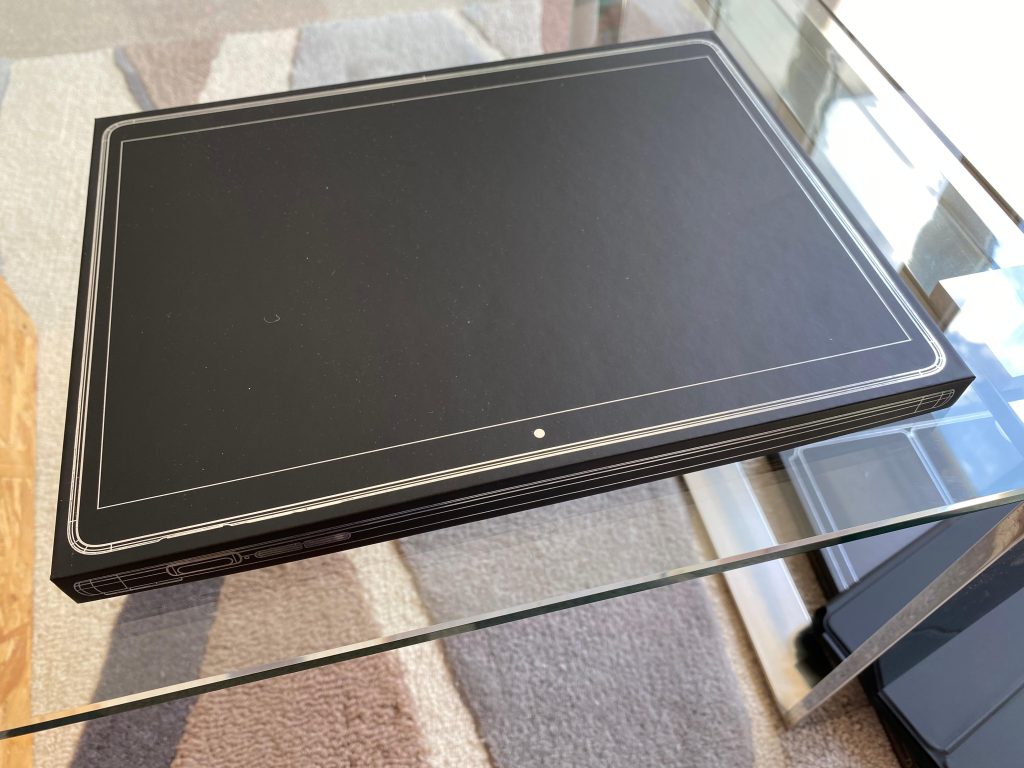
In your box you’ll find the StarLite MK V packaged as per the picture above. The charger, cables and pen will arrive in a box neatly nestled in with the rest. The keyboard also ships in a smartly designed schematics box too. The initial impressions as always with Starlabs are very good.
Specifications
- 12.5-inch (diagonal) LED-backlit 10-point touch display with IPS technology.
- 2160×1440 resolution at 208 pixels per inch at 3:2 aspect ratio.
- MPP Pen Support.
- 1.00GHz quad-core Intel Alder Lake N200 Turbo Boost up to 3.70GHz, with 6MB Smart Cache.
- 16GB of 4800MHz LPDDR5 onboard memory.
- Intel UHD Graphics at 750 Mhz.
- Choice of 512GB / 1TB / 2TB Gen3 PCIe SSD.
- Intel Wi-Fi 5 9560 with Bluetooth 5.1.
- Front 2k camera plus 2k rear camera.
- Stereo Speakers and Dual Digital Microphones.
- Coreboot firmware with: BIOS Lock, Secure Boot, Measured Boot and Disabled Intel Management Engine.
I opted for the 2 TB SSD plus a UK English keyboard, the MPP active pen, and an upgrade to a 5M USB-C charge cable which came to a total of £866.67.
Note on the display: the unit I have shipped with a 3k display (2880 x 1920) however StarLabs have changed to using 2k displays as per the specifications above due to what I understand as sourcing issues.
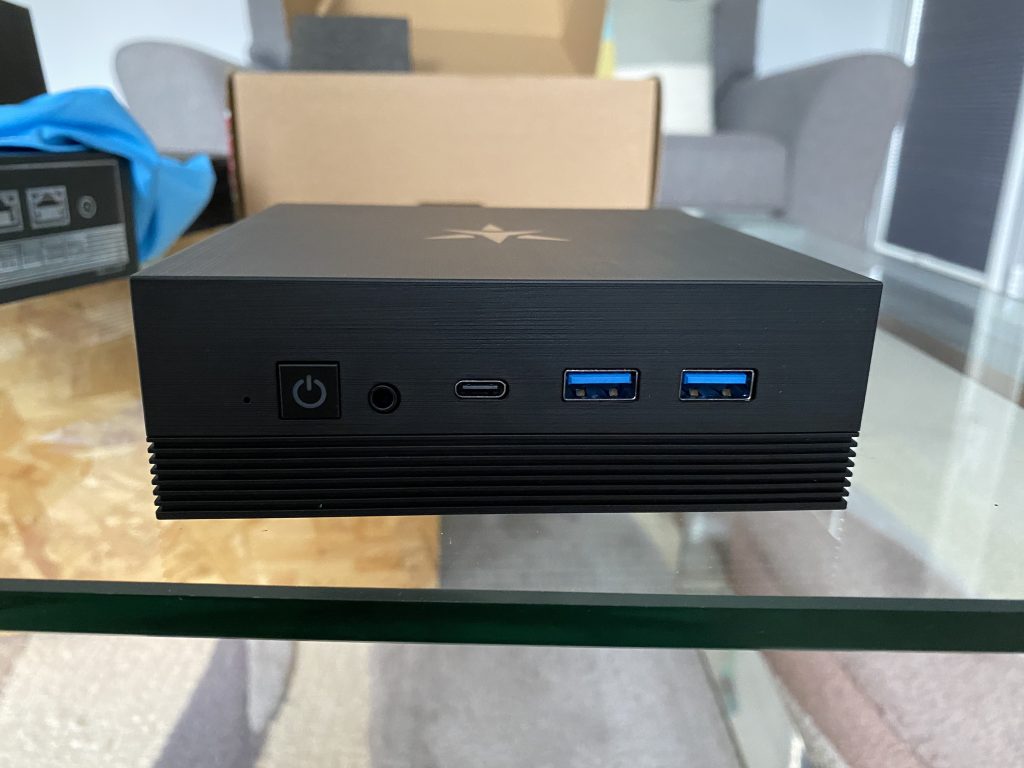
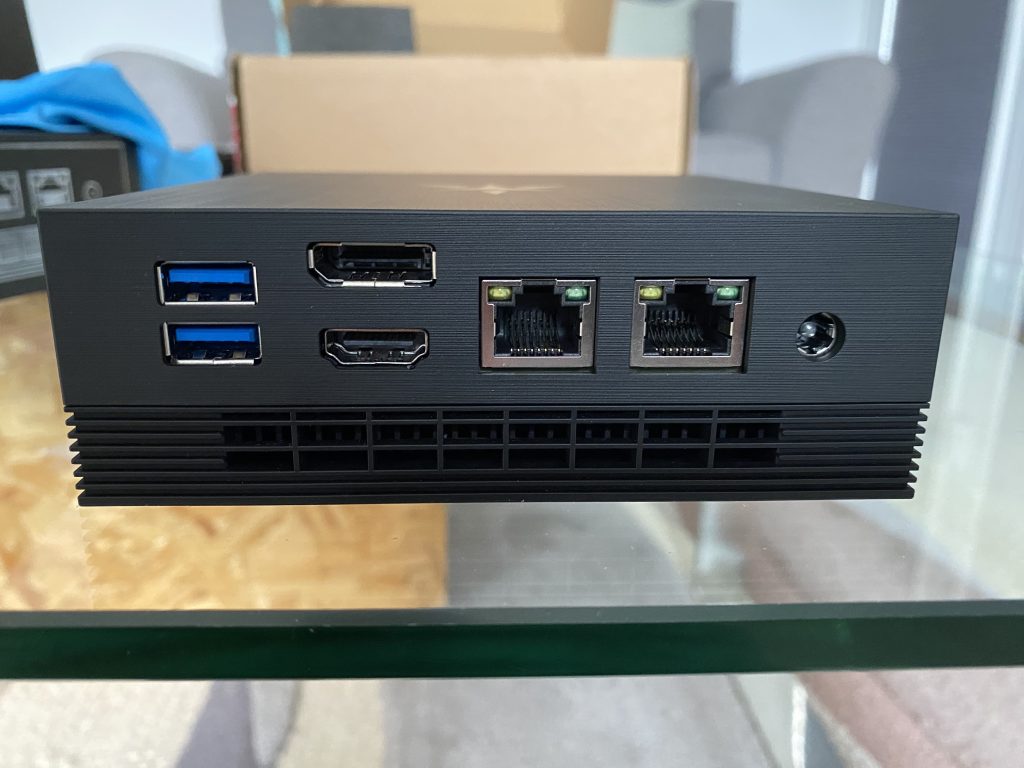
Connectivity wise you’ll find the following ports around the tablet:
- Micro HDMI (version 2.0).
- 2 x USB Type C 3.2 Gen 2 (up to 10 Gbps) with Power Delivery 3.0.
- Supports Display Port (DP Alt Mode).
- Micro SD Memory Card Reader.
- 3.5mm Headphone Jack.
The StarLite MKV will connect up to two displays with 3840×2160 resolution at 30Hz: up to 3840×2160 resolution at 60Hz using HDMI or up to 3840×2160 resolution at 30Hz using Display Port.
In terms of OS compatibility any recent Linux distribution will be supported. During your order you may select some StarLabs provided choices such as Ubuntu, Mint, Manjaro, MX Linux, Zorin and elementary OS. You may also opt for Windows 11 to be shipped with your device if you really want it.
The tablet shipped with Coreboot 24.05 which had a number of issues with the screen, suspend, charging amongst a few other minor points. Thankfully version 24.07 has been made available on LVFS and has provided a much smoother experience. For my review I installed Ubuntu 24.04 Noble Numbat. Unfortunately the kernel 24.04 ships with does not properly recognise the orientation of the screen. For installation I connected to an eternal display and then ran some commands provided by Starlabs to correct. As I understand later builds of kernel 6.8 should be OK however the end experience is pretty much dependent on having both that and Coreboot 24.07 in use.
First Look
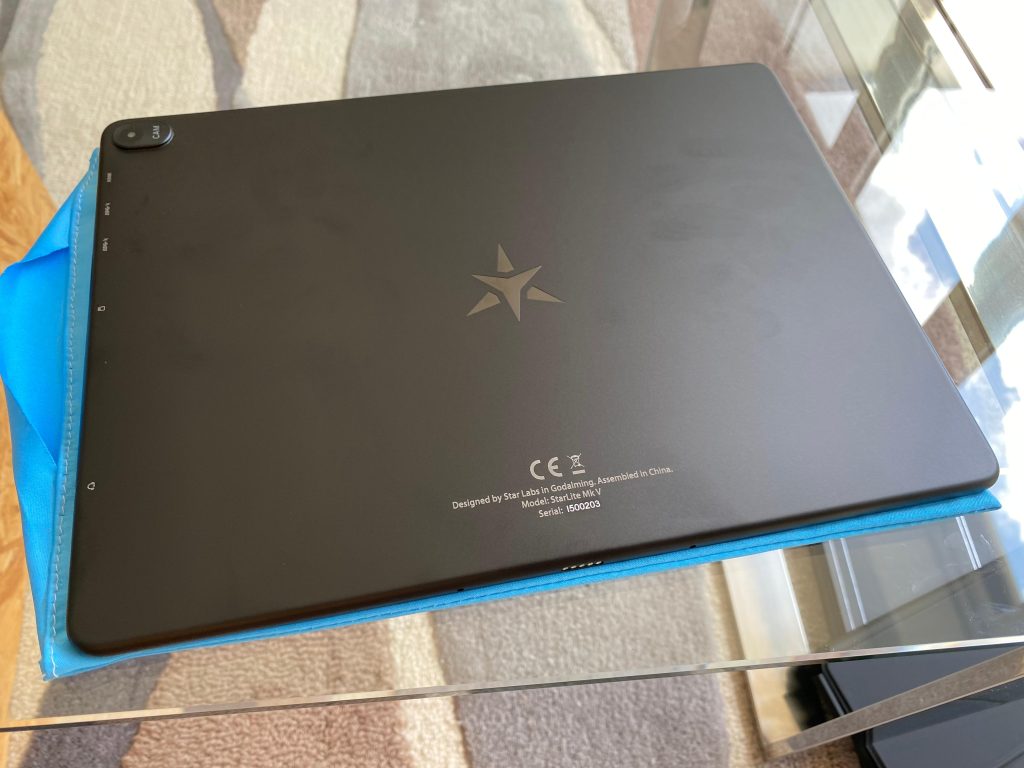
The StarLite MK V comes in a smart looking black aluminium anodised chassis with the Star:abs logo embossed into the back. With each order there is the customary blue sleeve to keep the device in. On the back there is also a 2MP camera for taking photos and recording video.
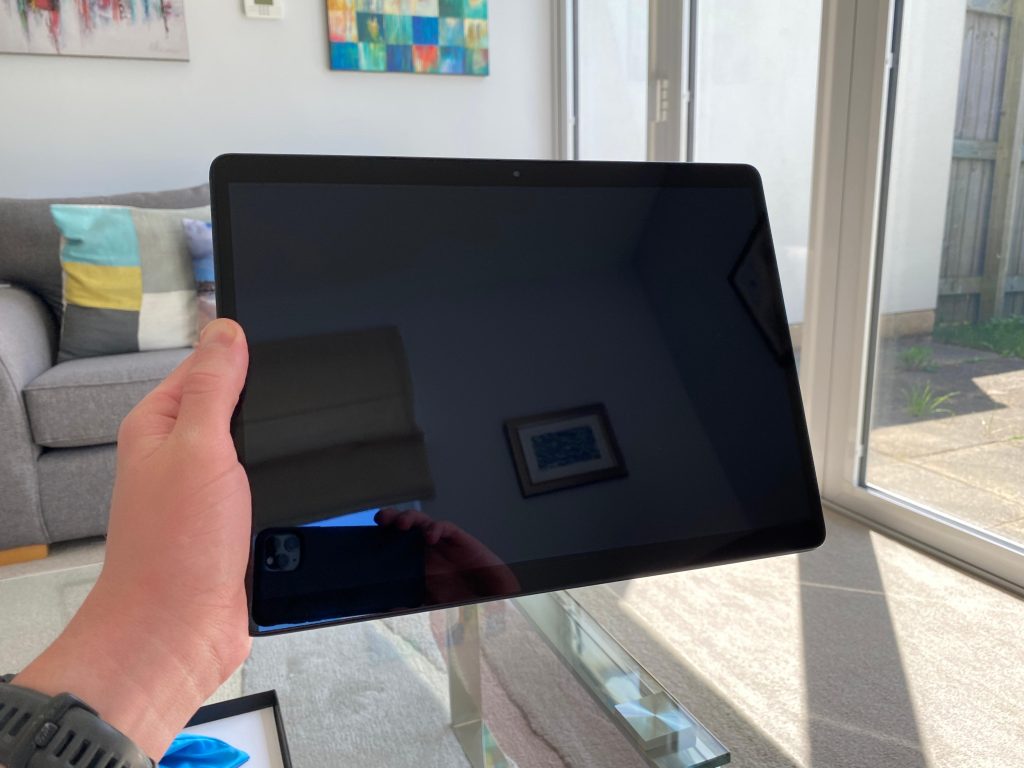
At around 0.9 Kg the StarLite MK V is heavy and unwieldy to handle. Compared to a Microsoft Surface Go 5 (Intel N200 processor for comparison) which has a mass of 521g the StarLite is on the heavier side of the device front. I have to use both hands or rest the device somewhere to use it.
The screen itself is very bright and readable. For example reading PDF files were clear and legible, watching videos was also a fine experience with acceptable colour and brightness levels. The screen won’t be on the level on some high end laptops and tablets but for the price point I feel it’s pretty good. Unfortunately around the edge of the display there’s some hollow points underneath which can be felt when using the device but not so many it completely spoils the experience.
Performance and Battery Life
As per the specifications StarLabs quoted up to 12 hours of battery life. I wrote this review on the StarLite MK V starting at approximately 09:00 with a charge of exactly 70%. With Ubuntu set to power saver mode I lasted until approximately 11:23 until the critical notification at 5% was triggered. This was with a connection to a VPN over WiFi doing largely emailing and web browsing. In other words even with the uncharged 30% of battery accounted for it’s not anywhere near the quoted 12 hours of battery.
The Intel N200 processor is a 4 core and no hyperthreading SoC. Performance wise that should put it around 10th generation Core i3 levels. It’s more than acceptable for basic web browsing and watching videos. I didn’t notice any dropped frames watching a short film for example. Anything more strenuous than the basic tasks such as compiling software, virtualisation or gaming and you’ll not find this tablet well suited for. There is 16GB RAM available to the user which means that multitasking should be OK.
Keyboard and Pen
Whilst you may just want a tablet for web browsing, media consumption and video chatting the StarLite MK V optionally ships with a custom backlit keyboard with a multi-touch trackpad for more keyboard and mouse intensive applications such as word-processing, coding and spreadsheets. We have to unfortunately discuss the keyboard in not so great terms. I opted for the UK variant and my experiences are based as such. Languages include UK English, US English, German, Spanish, French, and Nordic.
The keyboard is not very visually appealing. It’s made from what I would guess is Polyurethane which picks up anything greasy or oily quite easily. It doesn’t have any StarLabs branding on it and also fully covers the tablet when attached. Typing on the keyboard is OK. You can’t put the keyboard at an angle sadly so it will always be flat on whatever surface you are resting upon which is a drawback for coding and word processing. Some of the keys aren’t cut properly and catch on the frame. I particularly note the space bar and the Escape key are susceptible to catching. All things considered you won’t be using this keyboard for typing intensive activities.
The trackpad surface itself is OK; it’s responsive and accurate to use for navigating the OS. Multi-touch is supported which means that if your OS or application supports gestures this is nice to have.
The keyboard connects to the tablet by the way of two little plastic prongs. These don’t actually semi-permanently clip the tablet to the keyboard so it’s quite possible that the tablet might fall out if you’re not careful! A rudimentary kickstand is achieved by folding the back cover horizontally which is pretty clever design.
Overall the keyboard stands as a disappointment. It’s probably almost a requirement having one to get a full experience from a tablet for example if you want to write out a longer email, do a spreadsheet, code or input some shell commands.
The StarLite MK V display includes support for MPP active pens. This admittedly isn’t a strong requirement for me however for completeness I wanted to try it out. The pen itself is an extra £30 with your order. Two extra nibs are included as spares. The pen itself seems reasonably accurate although me being artistically challenged I’m not able to make an authoritative judgement to that.
Final Words
It’s great to finally have hold of the StarLite MK V. If you’re reading this review I’m assuming an interest in open source and by extension Linux. If you want the StarLite MK V you really must want this tablet and be prepared to live with its limitations.
That’s where it’s hard to talk about this without acknowledging that you can find an iPad or Android tablet for less money but will also provide an app store with a full fledged selection of apps. If that’s important to you look away now.
The tablet itself maintains the usual Starlabs traditions of great packaging, smartly designed chassis and also much flexibility in terms of options to customise the tablet in terms of storage, accessories and pre-loaded OSes. The customer support has been great as always.
As alluded to battery life and the keyboard are the most noticeable drawbacks of this tablet. The battery life may be addressed in the future by improvements to Coreboot firmware and kernel updates. The keyboard however can not and despite it being an option it’s very much a requirement for situations where you need to use a hardware keyboard or trackpad for system tasks.
For Linux enthusiasts out there the StarLabs Starlite MK V is well worth a look. Should you have any questions do let me know in the comments!