Your organisation’s data is a critical asset that needs the upmost care and attention to securely store & manage. For organisations with a Microsoft technology stack – in terms of infrastructure, applications and internal skills – Microsoft SQL Server is a RDBMS of choice designed with security in mind to meet such requirements.
When you deploy an SQL Server instance it’s important to work with your internal IT teams to make your installation secure right from the point of installation. In this blog post I’m going to discuss 5 points I recommend to ensure a secure basis for any SQL Server installation.
Tip 1: Deploy on Windows Server Core. If you can.
Most of us are familiar with the Windows GUI but for Windows Server it’s possible to deploy a reduced install of the OS known as Windows Server Core. This feature was first introduced with Windows Server 2008. This is achieved via a selection of the edition when the OS is first installed and is actually the default choice.
Installing Windows Server as Server Core affords a number of advantages. The principle benefit is that as the install is reduced in terms of components and features compared to a GUI install the attack surface is much reduced. There is also a slight performance advantage in terms of CPU and memory saved by the reduced overhead of the install.
Note that a drawback of a Server Core install is that some features such as SQL Server Reporting Services need the GUI install. If you choose to deploy an application on the same server (typically to save costs if the application only serves a few users) the vendor may also require a full GUI install. You also need to be completely proficient in using CLI based tools or remote management as the usual GUI tools aren’t present.
Tip 2: Apply the Latest Cumulative Update or Security Update
SQL Server generally has a good record when it comes to security vulnerabilities. That being said there has been a number of security issues identified and fixed in SQL Server. Patching just like any other program in use is a necessity.
In SQL Server you have two options regarding your update track. Highly recommended is the apply the latest Cumulative Update (CU). Not only will the instance receive the most up-to-date security fixes but also fixes to other areas of the database server.
Alternatively if your SQL Server instance hasn’t been patched using a CU then it would still be considered “GDR” or General Distribution Release”. These releases will still receive updates without applying a CU typically via Windows Update.
You should also check that on both clients and server that the various SQL Server connectivity drivers are patched up to date if they are mandated by any client applications.
Tip 2: Enable TLS by Applying a Certificate
TLS or Transport Layer Security is an encryption protocol that protects data sent and received between SQL Server and the client. Under principles of Zero Trust you should still take steps to encrypt data in transit even if you own the network SQL Server is running on.
A certificate should be procured either via an internal Certificate Authority (CA) server or via a recognised broker. For testing purposes a self-signed certificate can be used by is not recommended. This then secures application traffic against eavesdropping.
Note that you should never allow connectivity to SQL Server over the internet.
Tip 4: Use Windows Authentication Where Possible
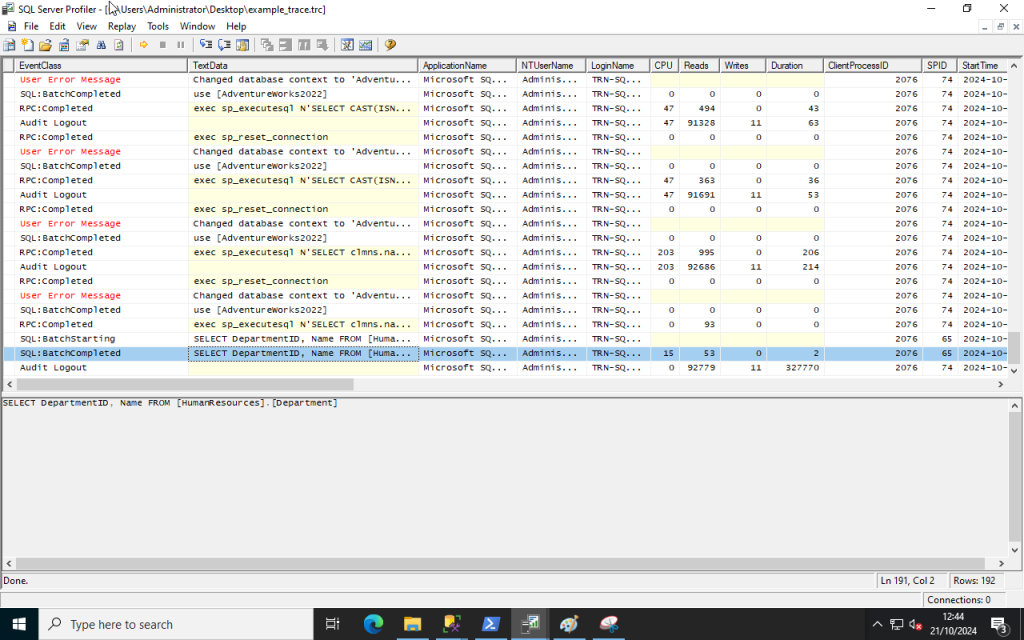
SQL Server can be run in either Windows or Mixed authentication modes. There are a number of drawbacks to using SQL Server’s built-in authentication method. Chiefly is that login passwords get transmitted unencrypted and can be seen using packet sniffing.
For best results leave use Windows Authentication mode only and make sure your applications authenticate via Windows. Certain applications do not support Windows authentication so check carefully with the vendor in case any patches or reconfiguration are required.
Tip 4a: If You Must Use Mixed Authentication Disable the ‘sa’ Account.
The sa account in SQL Server is a very special one. It has the SID of 0x01 and is considered the most powerful account in SQL Server. It’s also the most vulnerable one being so well known. For best results leave sa disabled and rename it. That way it can’t be used to exploit the whole instance.
Tip 5: Consider Firewall Rules
The Windows or Linux firewall should be enabled on each operating system for SQL Server. Connectivity to SQL Server is via the default port 1433/tcp. A rule needs to be in place to allow traffic to and from the server.
Locking down firewall rules to only allow access via known application servers, authorised management PCs and restricted virtual desktops is highly recommended. This effectively stops any malicious login attempts from unauthorised hosts. This can help keep your SQL Server instance safe.
Conclusion
In this post we’ve discussed the importance of protecting your organisation’s data as well as the theory over a number of basic steps for securely deploying SQL Server instances including: secure configuration, updates, firewall controls as well as encryption in transit.
Once the SQL Server instance is promoted to production there are also other features of SQL Server that should be considered such Transparent Data Encryption (TDE) for encrypting SQL Server databases, logs and backups.
If your organisation is facing challenges over securing your SQL Server instances then help is at hand. Digital Incite and Matter Ltd can help further with this challenging subject. We also have experience helping clients with annual security audits. Get in touch with us today for a free initial consultation.